Showing posts with label polymer clay tutorial. Show all posts

Thursday, July 5, 2012

Polymer Clay Rose Tutorial


I did a few polymer clay rose tutorials on my other blog - BareMoose. They seem to be fairly popular so I thought I would share one here. I will do my best to guide you through making the rose and then turning them into earrings.

Here are the finished earrings. I am unable to make 2 roses exactly the same so I didn't even try. I think they are cute and fun even though they aren't identical.
If I'm desperate to have roses that are the same, I make about 25 of them and select the 2 that look the most alike.


Materials:
Polymer Clay - I used Sculpey Premo Accents - Magenta Pearl
Earring Wires
2 Head Pins
Wire Cutters
Round Nose Pliers
Chain Nose Pliers


Start by conditioning your clay. You can use a pasta machine or just knead the clay with your hands.
Once the clay is soft and workable, roll it into a ball and then into a long snake.
Pull small pieces of the clay off and roll each piece into a ball.

Now flatten all the clay balls with your fingers. I am never concerned with the shape of the flattened pieces, it just doesn't matter for this project.
I am making a large rose for this demonstration because I can take better pictures of each step. In the background of the photo above, you can see the tiny pieces of clay used for the earrings.
The tiny roses are made the exact same way as the large roses.


Select one of the smaller pieces of flattened clay and roll it in a tube. This creates the center bud of the rose.


Here's the center completely rolled up. Once you finish rolling the tube, use your fingers to roll the top edge slightly backwards. You can see an example in the picture below.

Lay the next piece of clay in the center of the bud seam.

Now wrap it around the bud and slightly curl the top edge backwards.

The center of the next piece of clay goes over the seam left by the last piece.


Wrap it around the rose and roll the top edge slightly backwards.

Just continue laying the center of the next piece of clay in the seam left by the last piece of clay. Roll it around the rose and curl the top edge slightly backwards.


You may add as many or as few petals as you want.


I keep adding petals until I like the way the rose looks.


I have spent a long time sculpting a rose, carefully placing each petal only to roll it up and start over because I didn't like the way it looked.

If I need more clay, I will pull it from the underneath of the rose where the clay builds up.


Once you are happy with your rose, roll the excess clay underneath into a thin snake.

Cut the excess clay off.

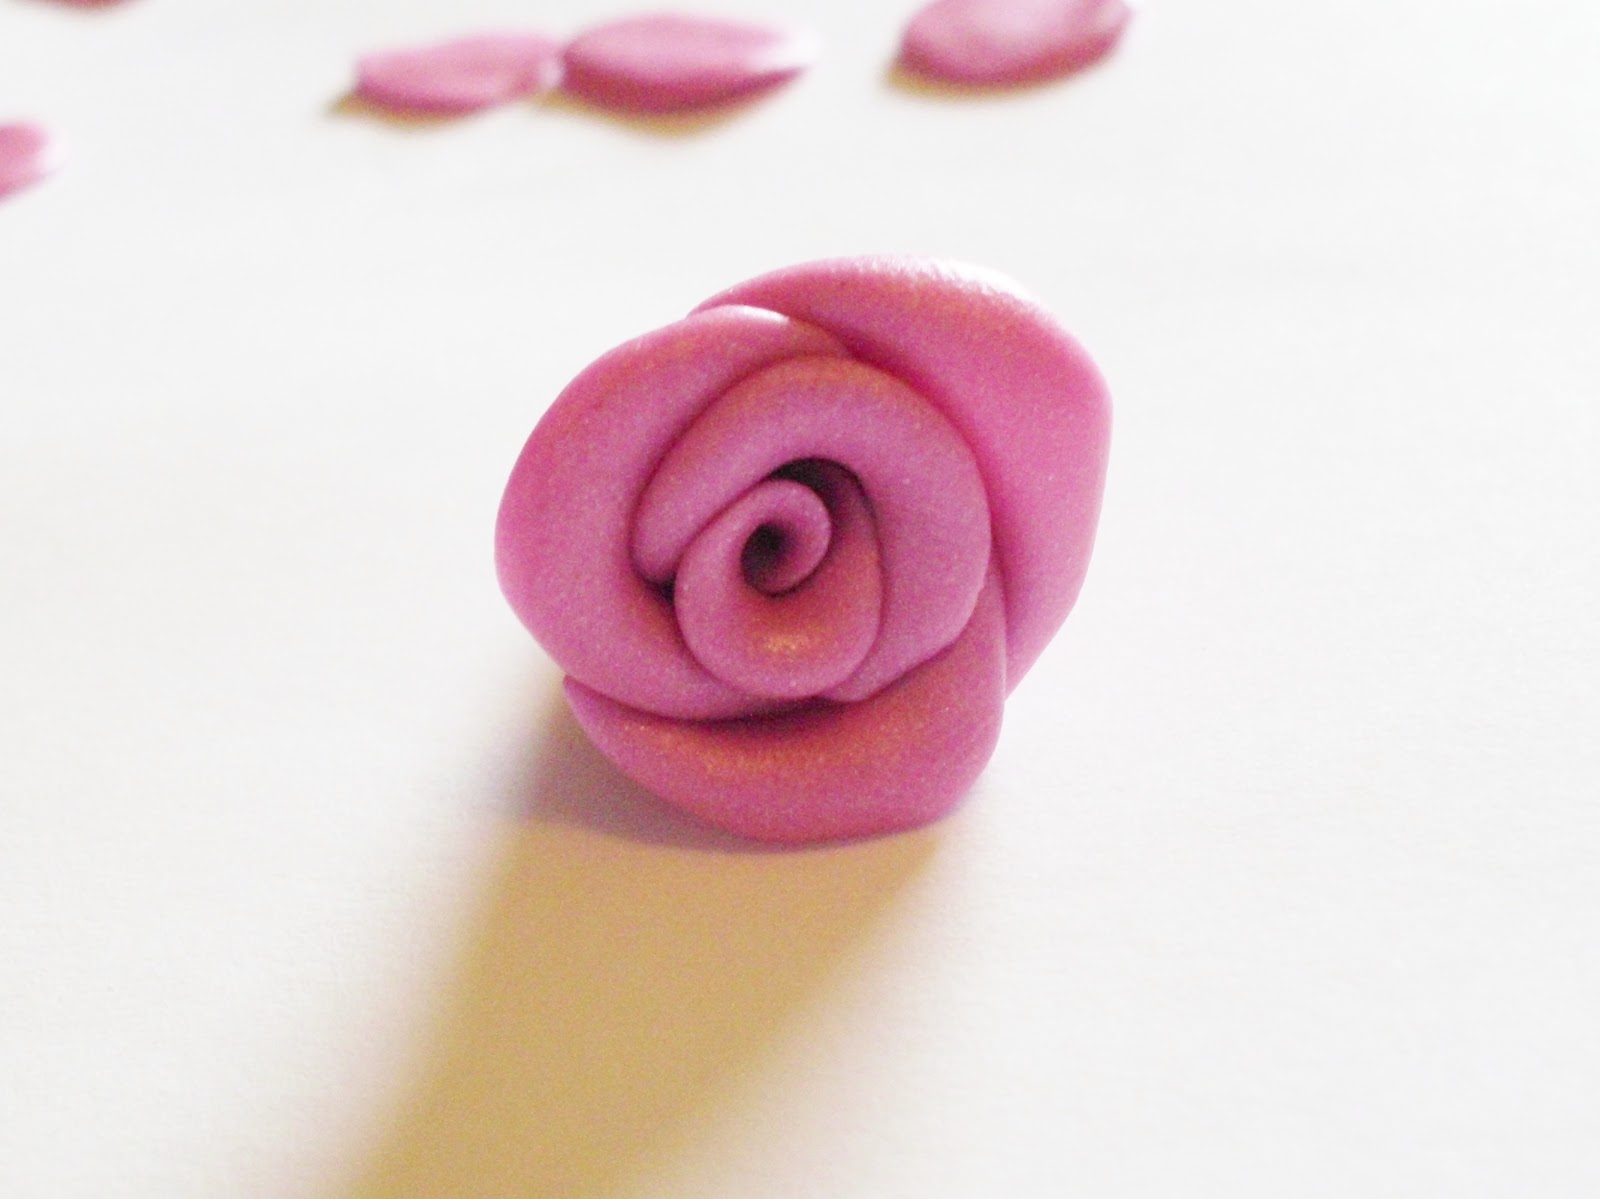
Here's the finished rose. I'm not sure how many petals I added. Maybe 13 or 14?

Now decide the way you want your rose to hang and insert a head pin through the rose.
If you want your rose to stay the same as you made it then cup the rose in your hand while inserting the head pin. I kind of like the way it flattens slightly if I insert the head pin while the rose is laying face down on my work table.


Let's make the tiny roses for the earrings. Make them exactly the way the large rose was made.


Since we are making earrings, I lined up the flattened pieces of clay from smallest to largest.
I know I can't make identical roses but I felt that if I lined the clay up like this then perhaps the roses would be close to the same size.


Here are the 2 tiny earring roses. I think I added 7 petals.


Insert a head pin in each rose.


Remove the head pins and bake the roses per the instructions on the clay package. Since baking time depends on the thickness of the clay, I baked the larger rose about 5 minutes longer than the smaller roses.

Once the roses are cool, insert the head pin in the same hole you made before you baked it.
Using your round nose pliers, bend the head pin at a 90 degree angle.

Wrap the head pin around one side of the round nose pliers to form a loop.

Now hold the loop with the chain nose pliers and use the round nose pliers to wrap the head pin around itself.


Using the chain nose pliers, twist the loop open on the earring wire and attach one of the roses. Close the loop. Repeat for the other earring.


Your all done!!!!


So what became of the large rose???
Here it is! I inserted a head pin and wire wrapped just like the small roses. I added a chain and using jump rings, I added a clasp on one side of the chain and added just the jump ring to the other side of the chain for closure.

I hope you find this tutorial useful and will enjoy making polymer clay roses!
Don't forget to check out BareMoose for more polymer clay tutorials as well as other tutorials.

Happy Crafting!

Monday, June 18, 2012

Polymer Clay And Cabochon Tutorial


I really enjoy working with polymer clay, it's such a diverse medium.
As I show you this technique, please keep in mind that I am by no means a polymer clay expert.
I am always trying different ways to use polymer clay and have had my share of failures. But...I think this necklace turned out nice, I hope you like it and will give it a try.

Materials:

Polymer Clay - Premo Sculpey Accents - Magenta Pearl and Pearl
Small Resin Cabochon - Secret Solace Supplies
Bronze Bee Charm - Tessas Lil Treasures
Heart Clasp - Secret Solace Supplies
Copper Chain
Antique Brass or Copper Jump Rings

Tools:

Jewelry Pliers - to open and close jump rings
Side or Wire Cutters - to cut the chain


Pull off a small amount of clay from each color. Try to use about the same amount of each, however they do not have to be perfect.


Condition the clay by kneading it with your fingers.
Once conditioned, roll each color clay into a ball.

Now roll your clay into little snakes.


Twist the 2 snakes together.


Knead the 2 colors of clay together to slightly blend them.

Continue to blend the colors until you have reached your desired effect.

Once satisfied with the blend, flatten the clay.

Lay the clay over the bezel and apply light pressure to the clay.


Remove the clay and turn it over. You now have an indent of the bezel opening.

You may neatly cut around the bezel indent. Or...you may rip the clay off around the indent.
Make an oval ball with the clay and place it in your bezel.
**Note - I had too much clay once I removed the excess. Therefore, I ended up over working my pretty marble look. Don't do that!**


Spread the clay in the bezel as evenly as possible.

Like this ^^^^^

This is a picture of the butterfly cabochon in my shop. You can't really see it clearly in the following photos :(

Place the cabochon in the bezel, wherever you want it. I placed mine a tiny bit higher than center.
Now push the bezel into the clay. Bake according to the clay instructions on the package.

**I wanted to see what would happen if I baked the clay in the bezel with the cabochon in place. The bezel was fine after baking and the clay is wonderfully adhered. The cabochon is wonderfully adhered as well but...it did change color slightly. I think it would be better to remove the cab before baking and glue it in place once the clay has cooled.**

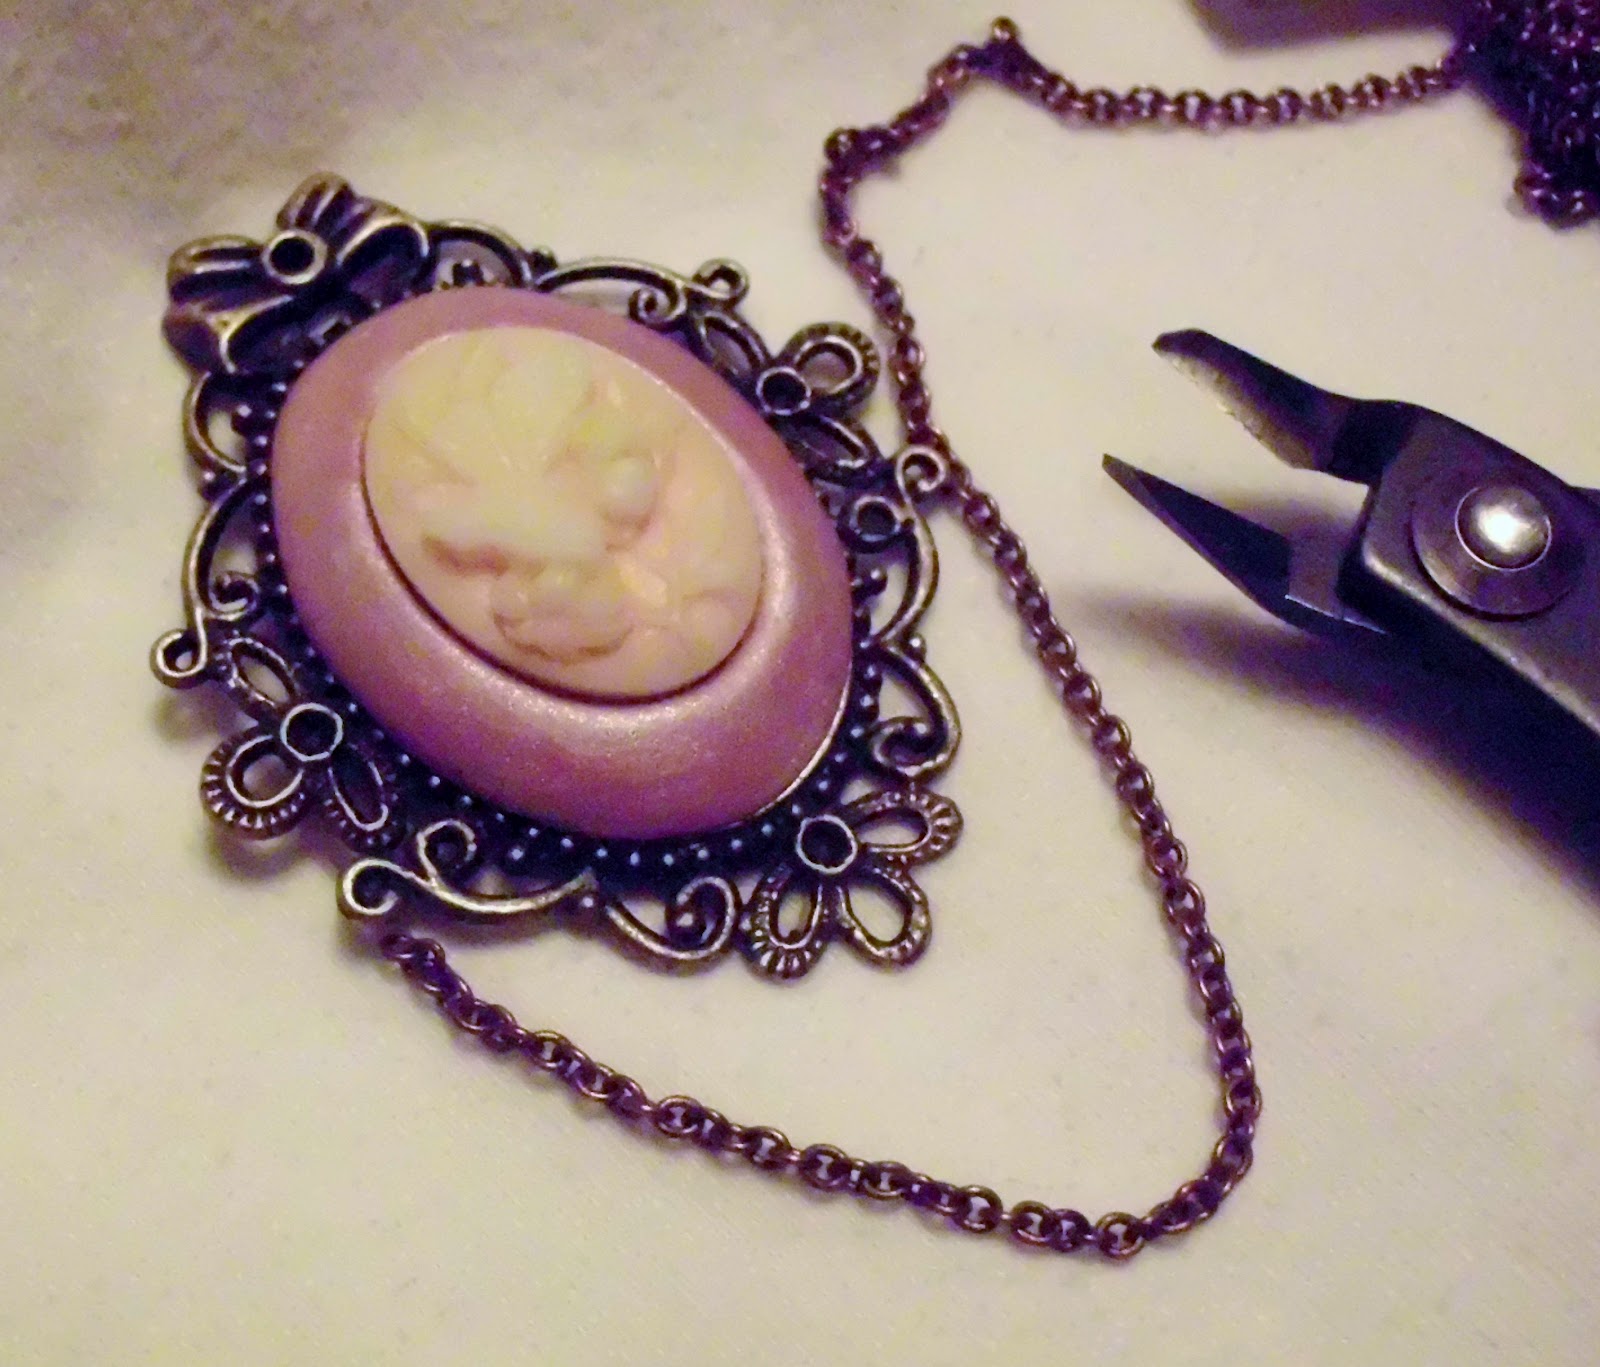
I wanted to add embellishment so I selected a section to attach the copper chain. I placed the chain around the sides and bottom of the bezel to get an idea of where I wanted the chain to hang. I cut the chain the desired length and attached it to the bezel on each side with jump rings. Then I cut 2 smaller sections of chain and attached one end of each to the bezel center with a jump ring. I attached the other ends of the short chains to the same jump rings used by the longer chain.

I added an adorable bronze bee charm from Tessas Lil Treasures to the center jump ring.
Cut a desired length of copper chain for the necklace. Add a jump ring to the top center of the bezel and feed the chain through the jump ring. Attach a jump ring to one side of the chain. Attach the heart clasp to the other side of the chain using a jump ring. Your all done!


This Accent polymer clay has a lovely shimmer which you can't see in my disturbingly horrid  photos.

Once you are finished baking, you may coat the clay in a polymer clay glaze or with whatever you normally finish your clay.