
I really enjoy working with polymer clay, it's such a diverse medium.
As I show you this technique, please keep in mind that I am by no means a polymer clay expert.
I am always trying different ways to use polymer clay and have had my share of failures. But...I think this necklace turned out nice, I hope you like it and will give it a try.
Materials:
Polymer Clay - Premo Sculpey Accents - Magenta Pearl and Pearl
Bezel - Secret Solace Supplies
Small Resin Cabochon - Secret Solace Supplies
Bronze Bee Charm - Tessas Lil Treasures
Heart Clasp - Secret Solace Supplies
Copper Chain
Antique Brass or Copper Jump Rings
Tools:
Jewelry Pliers - to open and close jump rings
Side or Wire Cutters - to cut the chain

Pull off a small amount of clay from each color. Try to use about the same amount of each, however they do not have to be perfect.

Condition the clay by kneading it with your fingers.


Twist the 2 snakes together.


Remove the clay and turn it over. You now have an indent of the bezel opening.

You may neatly cut around the bezel indent. Or...you may rip the clay off around the indent.

**Note - I had too much clay once I removed the excess. Therefore, I ended up over working my pretty marble look. Don't do that!**

Spread the clay in the bezel as evenly as possible.

Like this ^^^^^

This is a picture of the butterfly cabochon in my shop. You can't really see it clearly in the following photos :(

Place the cabochon in the bezel, wherever you want it. I placed mine a tiny bit higher than center.
Now push the bezel into the clay. Bake according to the clay instructions on the package.
**I wanted to see what would happen if I baked the clay in the bezel with the cabochon in place. The bezel was fine after baking and the clay is wonderfully adhered. The cabochon is wonderfully adhered as well but...it did change color slightly. I think it would be better to remove the cab before baking and glue it in place once the clay has cooled.**
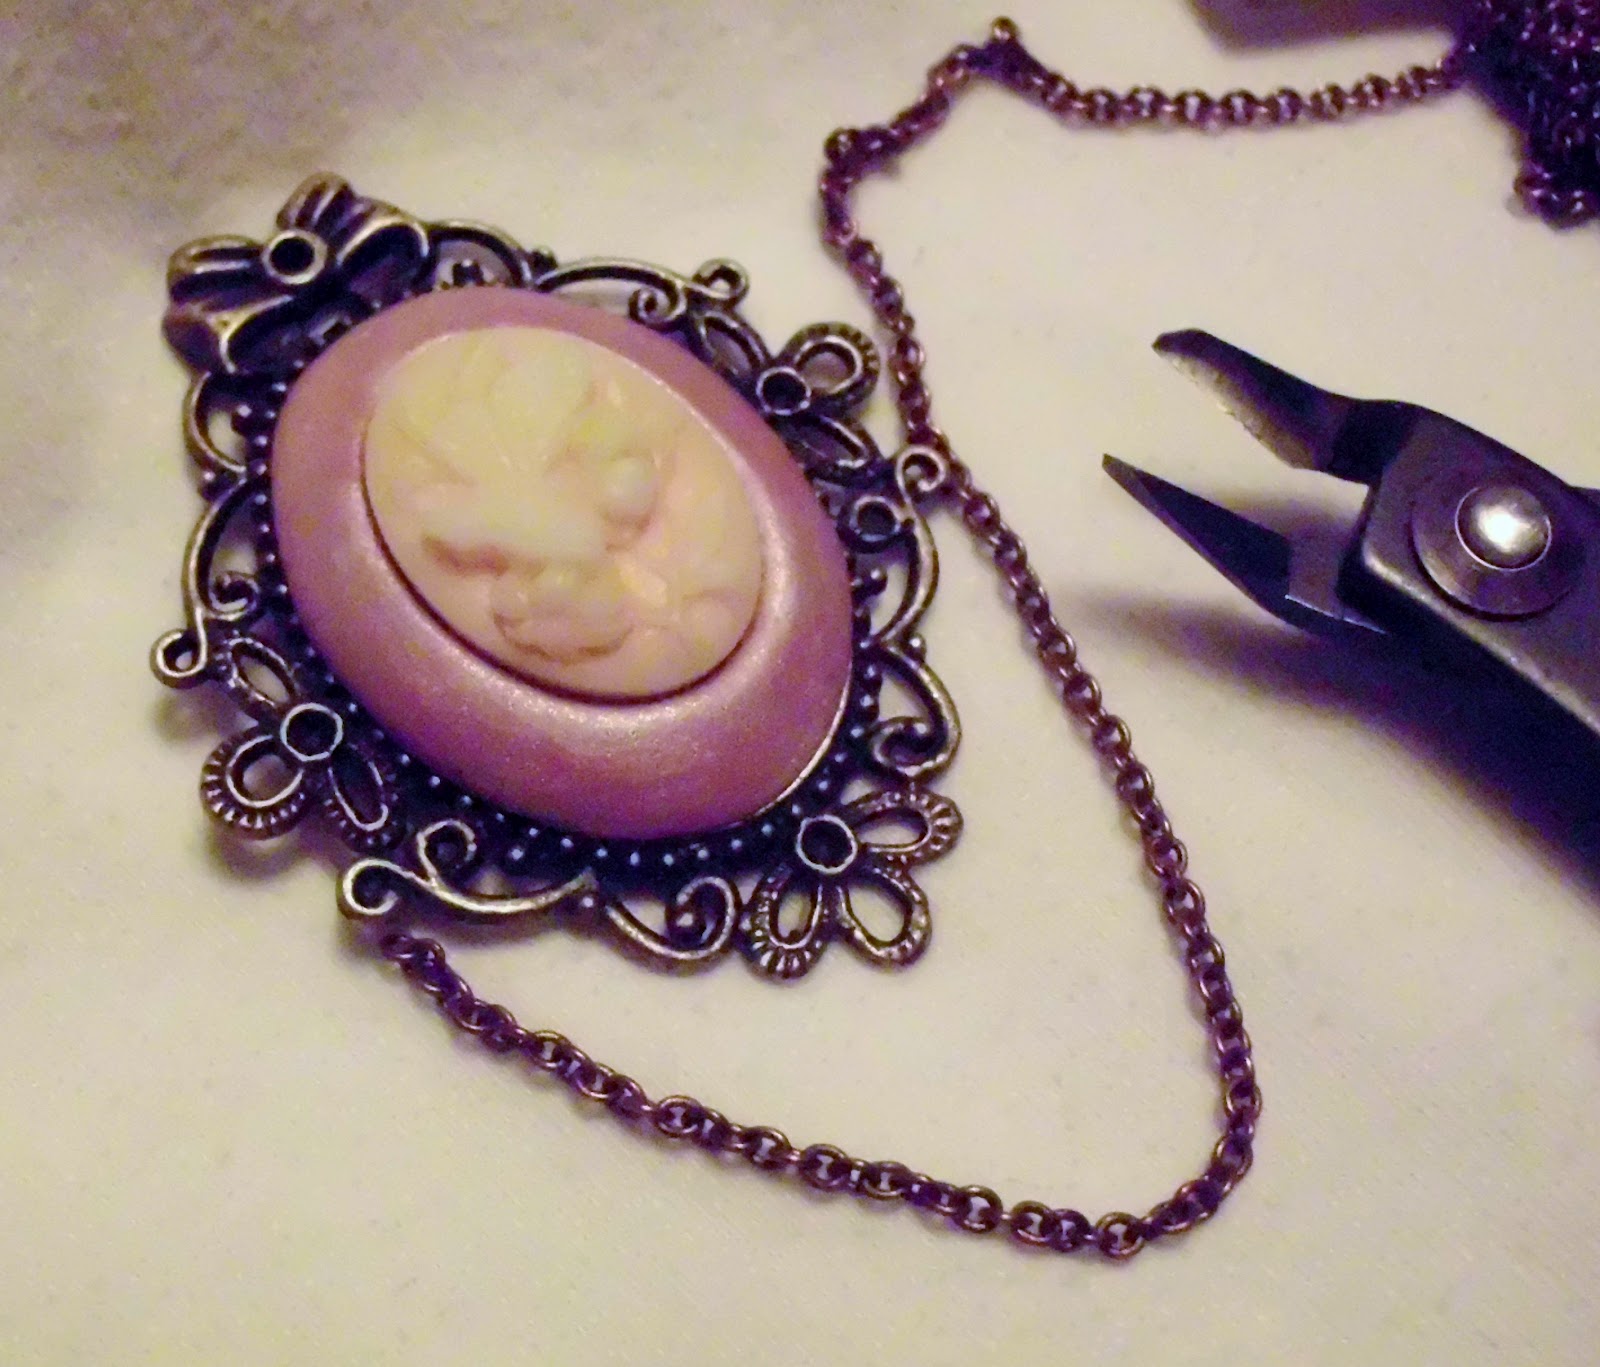
I wanted to add embellishment so I selected a section to attach the copper chain. I placed the chain around the sides and bottom of the bezel to get an idea of where I wanted the chain to hang. I cut the chain the desired length and attached it to the bezel on each side with jump rings. Then I cut 2 smaller sections of chain and attached one end of each to the bezel center with a jump ring. I attached the other ends of the short chains to the same jump rings used by the longer chain.
I added an adorable bronze bee charm from Tessas Lil Treasures to the center jump ring.


This Accent polymer clay has a lovely shimmer which you can't see in my disturbingly horrid photos.
Once you are finished baking, you may coat the clay in a polymer clay glaze or with whatever you normally finish your clay.
No comments:
Post a Comment